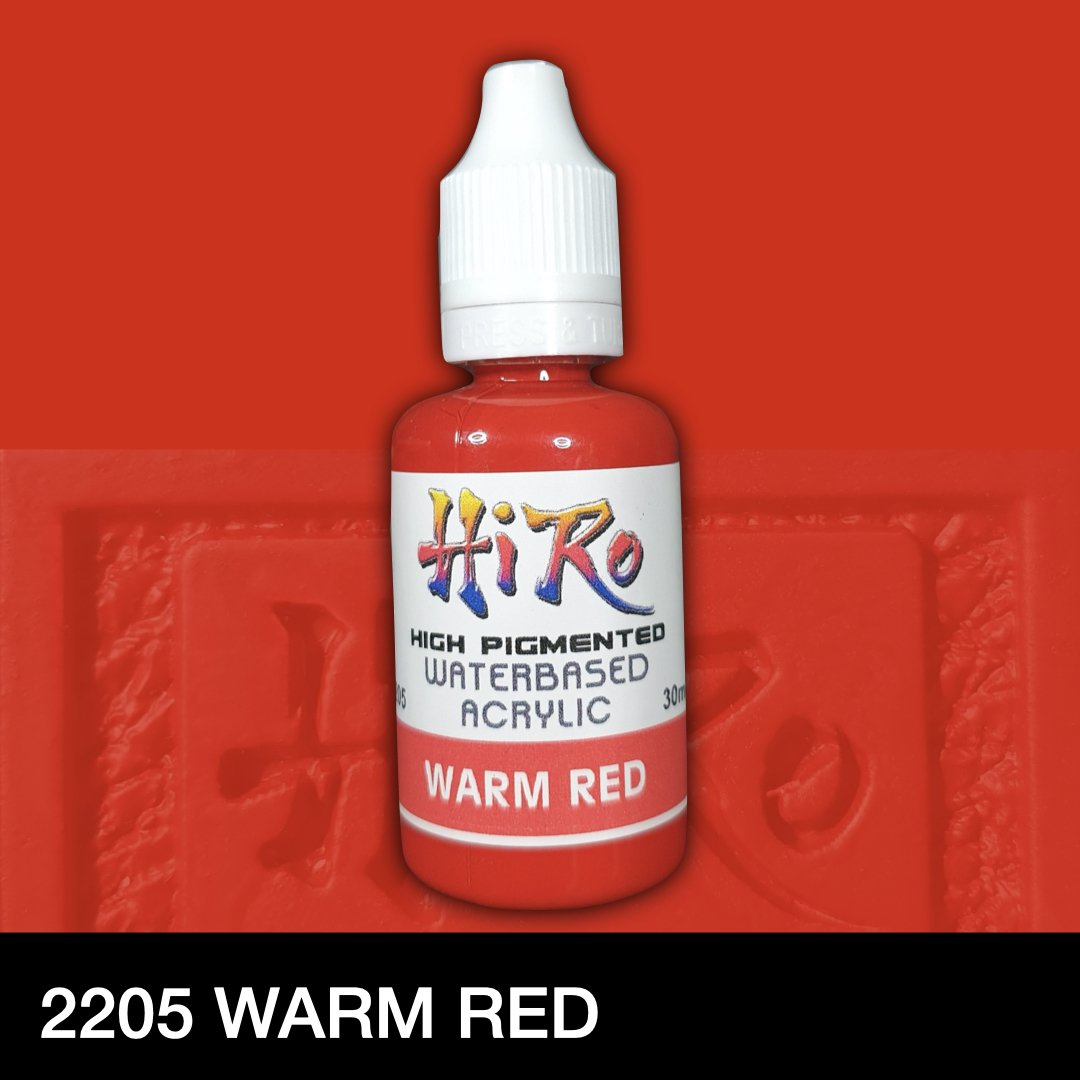
Mech Painting Process 101 (LMHG EVA-01)
HIRO PAINTS X SHARKBAIT CUSTOMS
About Sharkbait Customs
For years, this talented gunpla commission artist based in the Philippines has offered countless clients custom build services, including building and painting.
Impressed by the work of this one-man army, Hiro Paints decided to reach out and challenge him with our brand collaboration — customizing an LMHG EVA-01using Hiro Paints primer, matte colors, and topcoat.
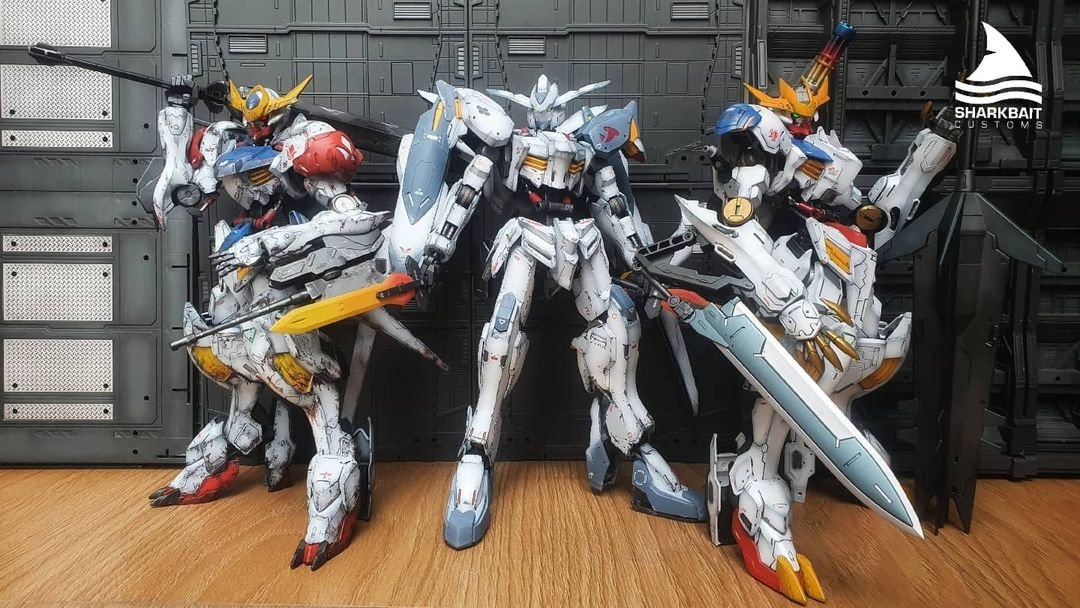
“It's a hobby that teaches you patience. You gotta be in it for the long haul…
Art is expressed in a lot of different media, and customizing model kits like gunpla is a great outlet for creativity for me.”
— SHARKBAIT CUSTOMS, 2022
TESTING THE PAINTS
“Overall they have very good pigments, and coverage overall. I also like that you don't smell these paints much, like vallejo, but even more so with these.
Cleanup is also easy since water can be used along with your regular waterbased cleaners for the airbrush.” (Sharkbait Customs, 2022)
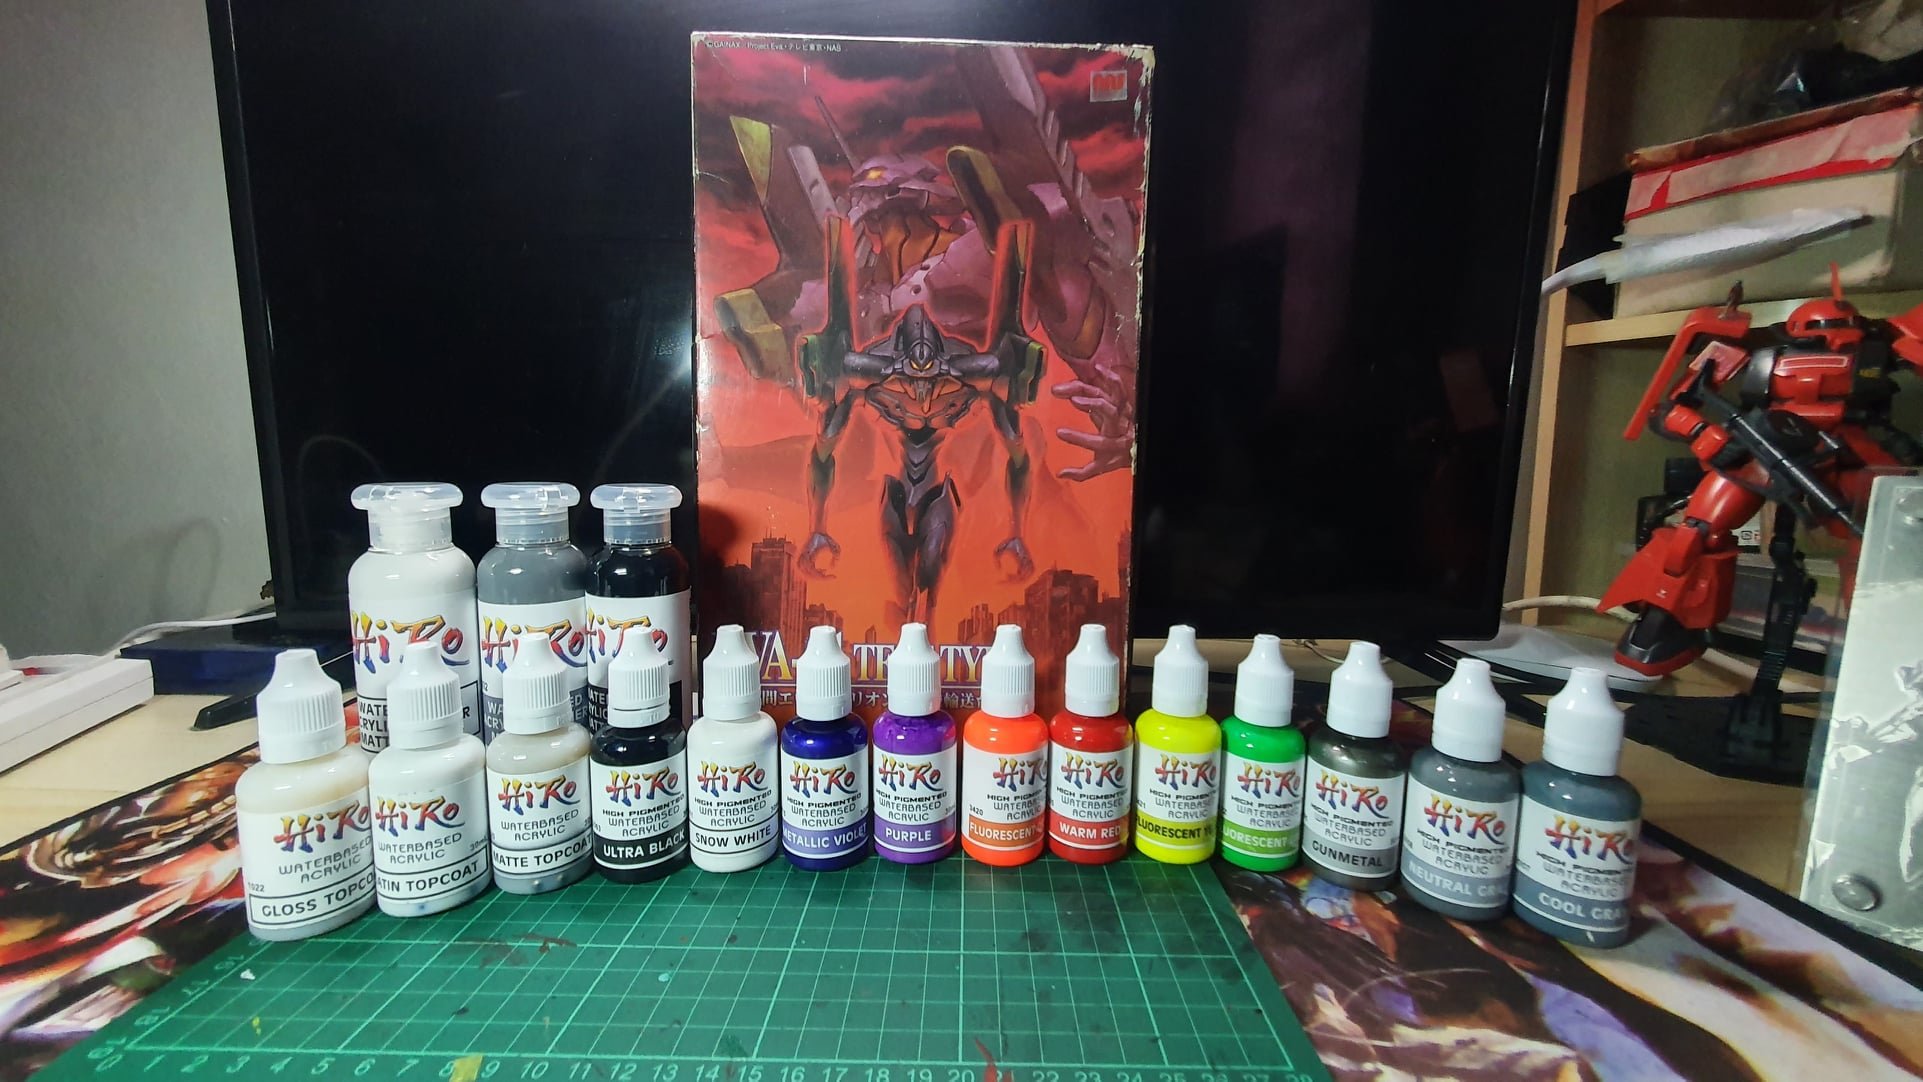
Let’s do it!
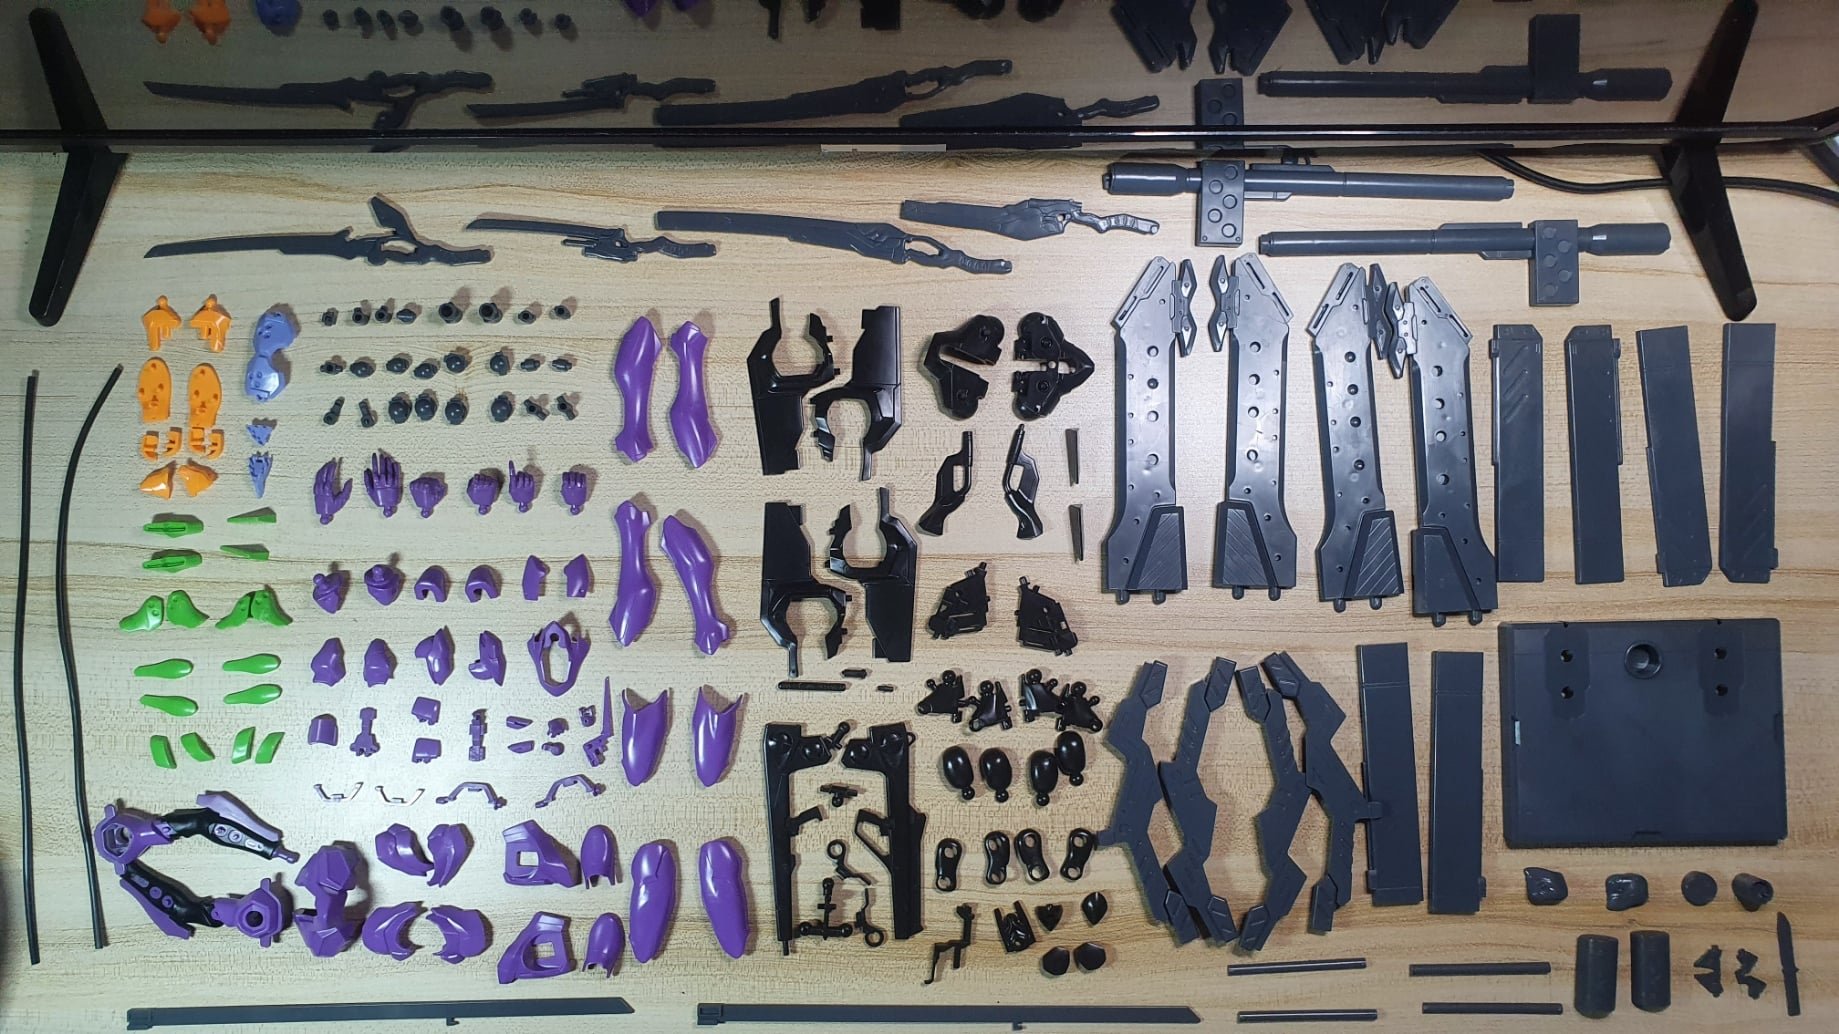
The Process
“They aren't watery when sprayed [via airbrush], and don't pool on the edges.
The fact that these were thinned with just drinking water, is really something to be amazed at. You get to skip buying any thinners at all.” (Sharkbait Customs, 2022)
-
Basically cutting the parts from the runners, then removing the nubs from the parts using nippers, and shaving them off with a hobby knife before sanding them down further to eliminate the nubs, and prep for painting.
-
Using plastic cement to stick two parts together, then sanding down the excess plastic, to create a seamless part which would be more realistic, and eliminate the look that it was just a model kit, with parts showing stuck together.
-
“…the primers are very easy to use, and have great coverage too…” (Sharkbait Customs, 2022)
-
Airbrushing the coats for the parts using Hiro paints matte colors, fluorescent colors, and metallic colors
-
Carefully covering up parts that you don't want to be sprayed a certain color. Creates parts separation where there previously wasn't any before with different colors.
-
Applying topcoat to protect your base paint colors (In this EVA-01 model, Hiro GLOSS topcoat was used)
-
Applying an enamel paint thinned down to the panels or (low parts) the grooves on the parts, to create separation on the armor/parts.
-
This is to paint by a brush, the smaller parts that are otherwise hard to mask and paint, so that the model kit would still retain the detail of color separation it was intended to have.
-
Applying waterslide decals for added detail to the model kit.
-
Assembling all the parts after all the previous steps were completed.
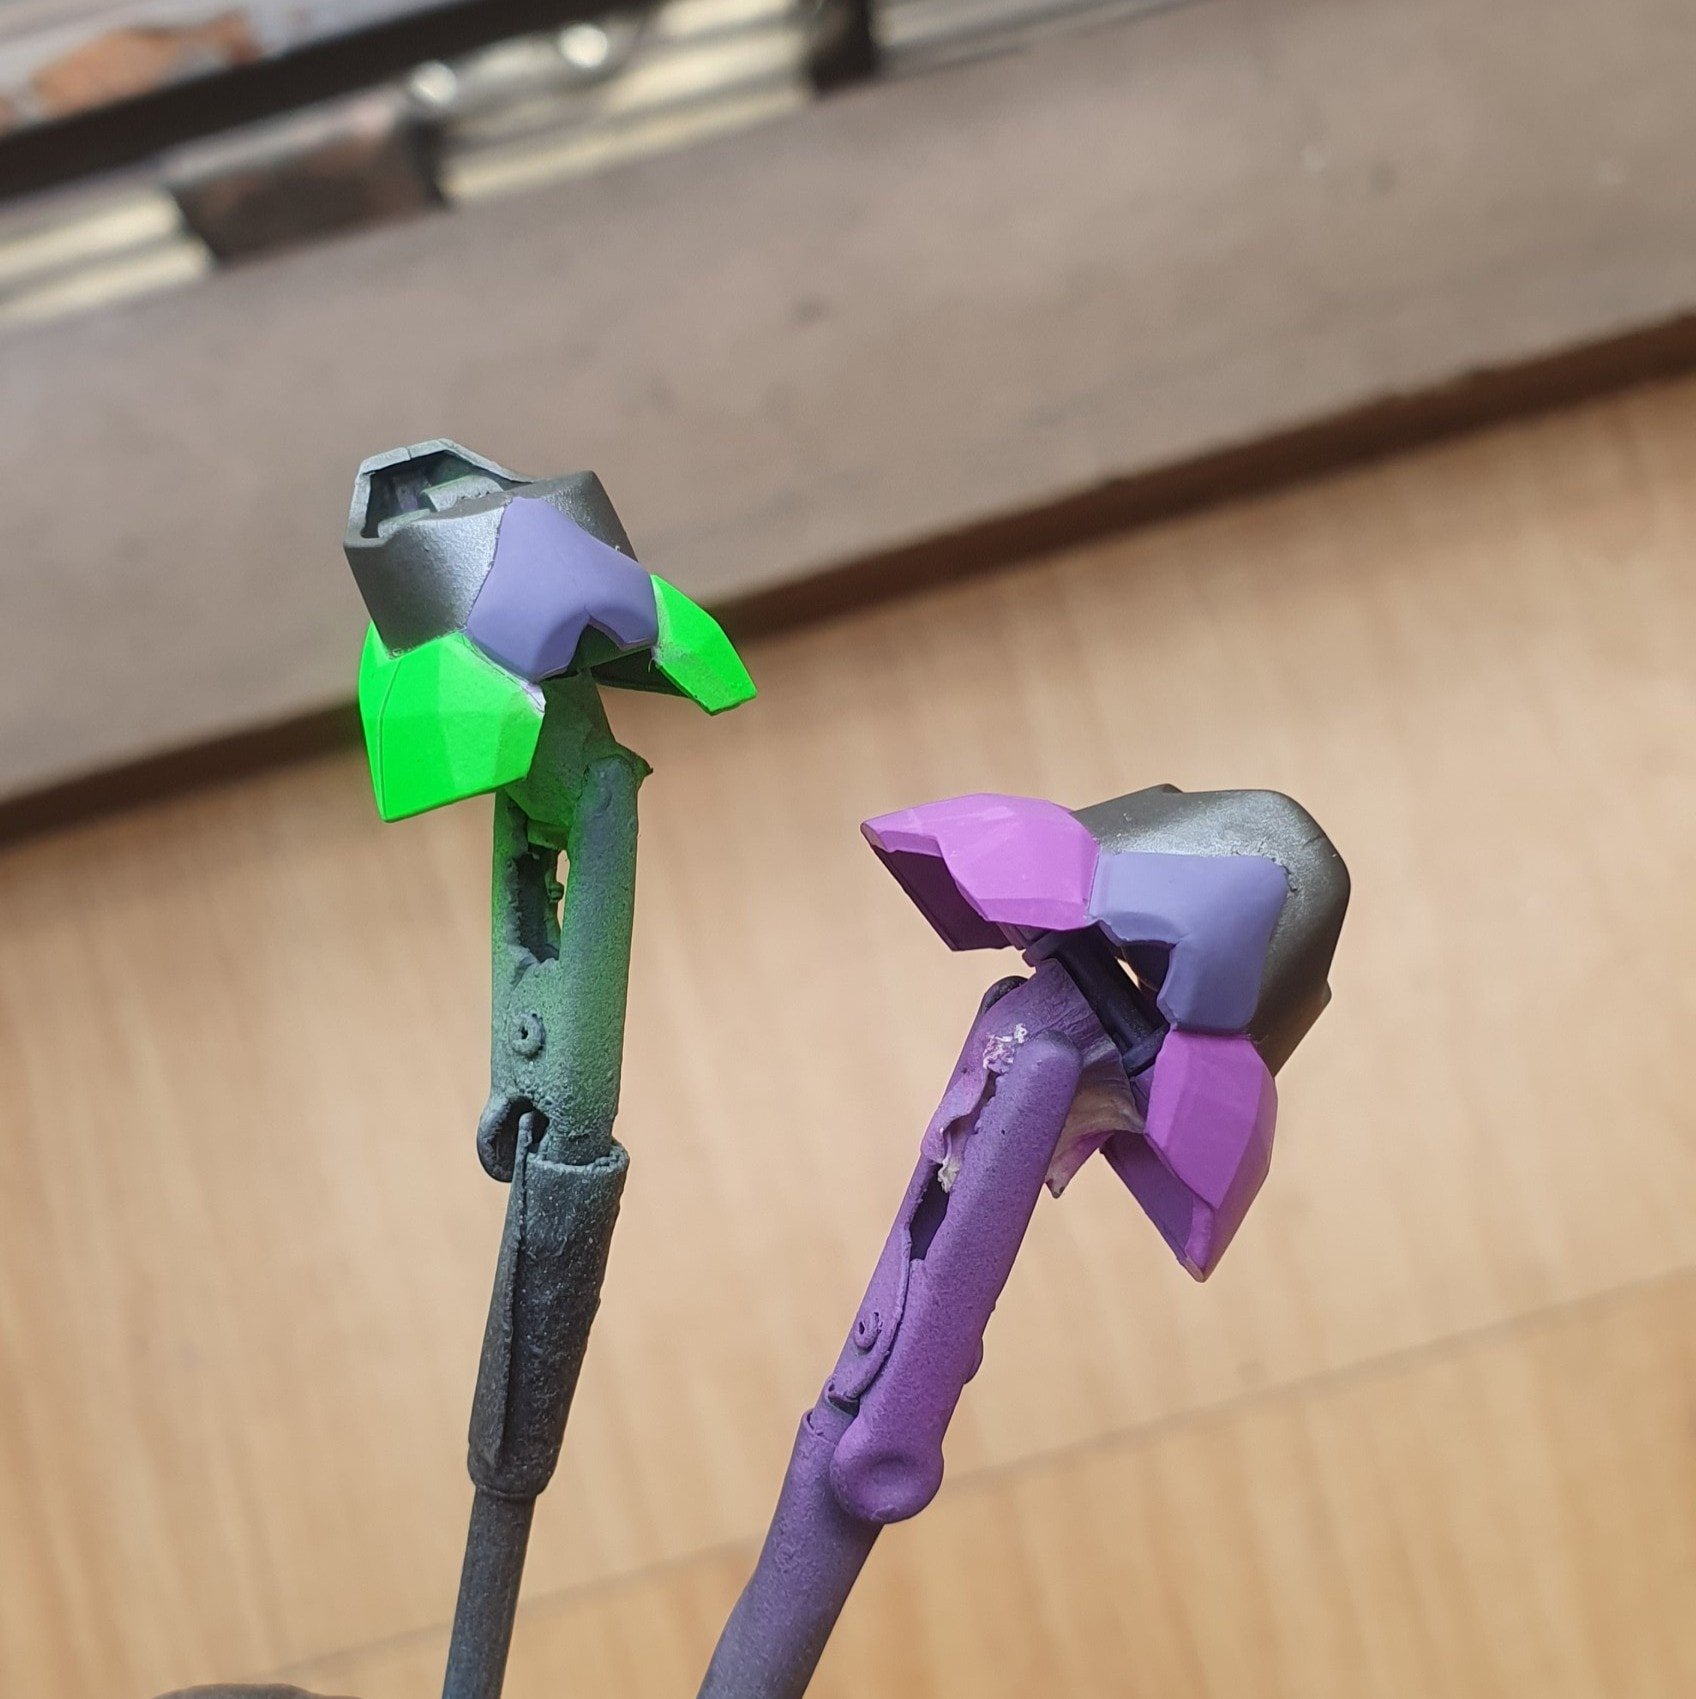
TIP: If the part is difficult to hold with an alligator clip, you can always use some sticky tack to mount it on a skewer.
SHARKBAIT CUSTOMS ON THE ART OF GUNPLA:
It's all about enjoying the process, and learning new things in this hobby. The model kits you finish making at the end of it all, is just proof that you put in the work behind it.

The Final Product
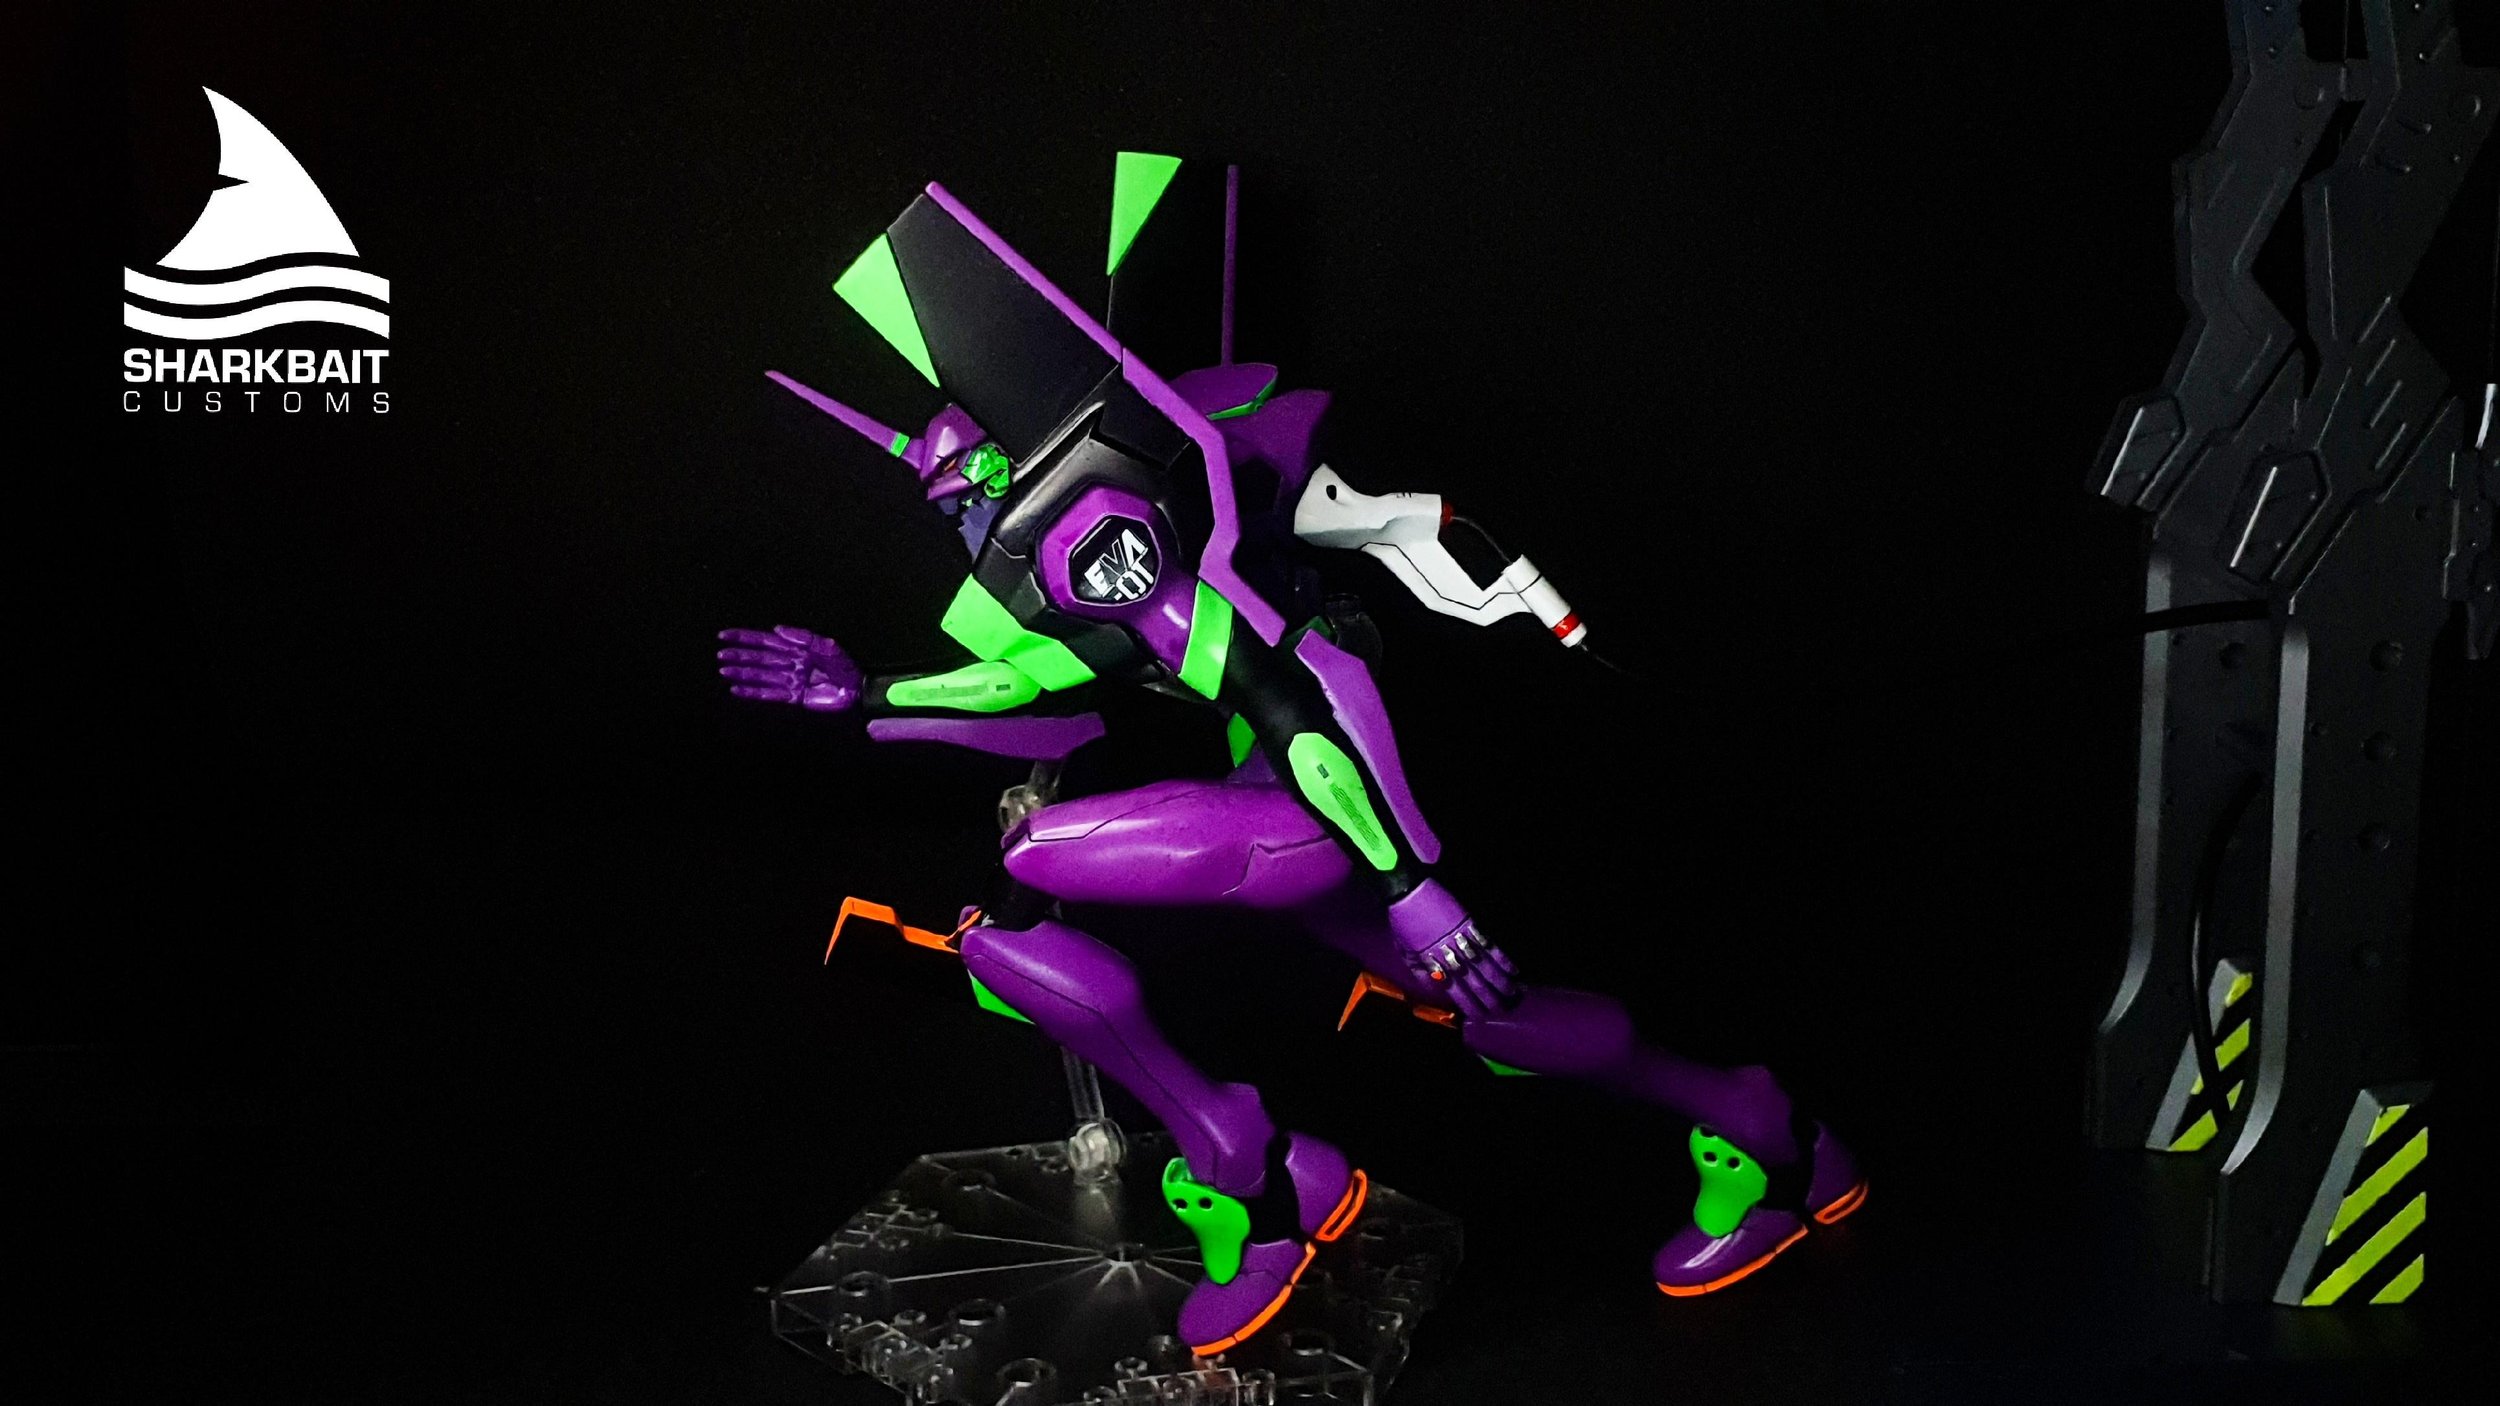
Bandai Limited Model HG Evangelion Unit 01 Painted Build
“Shinji, get in the Robot!”
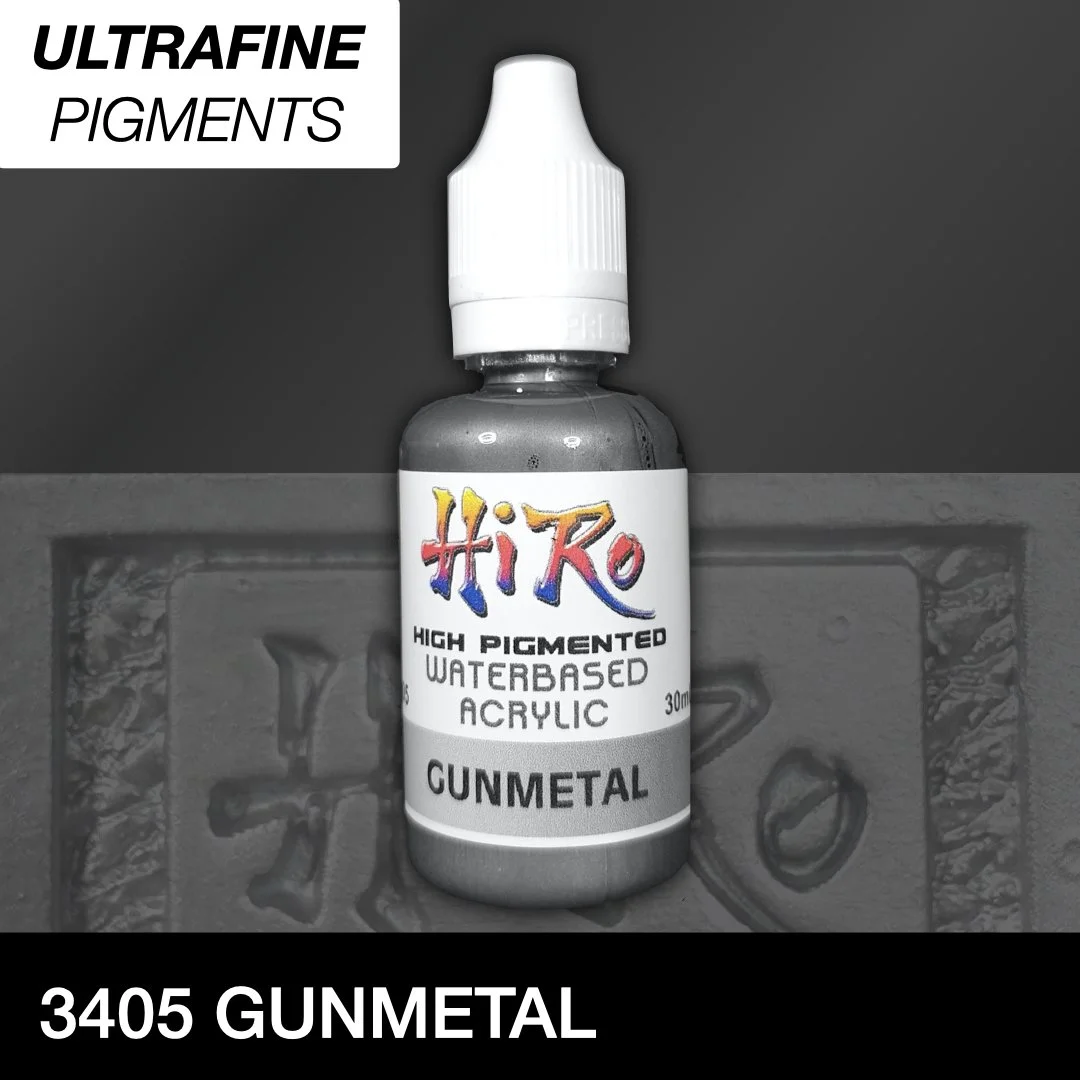
HIRO PRODUCTS USED


